Today I’m finally posting about the copper pot rack my boyfriend and I made a few weeks ago.
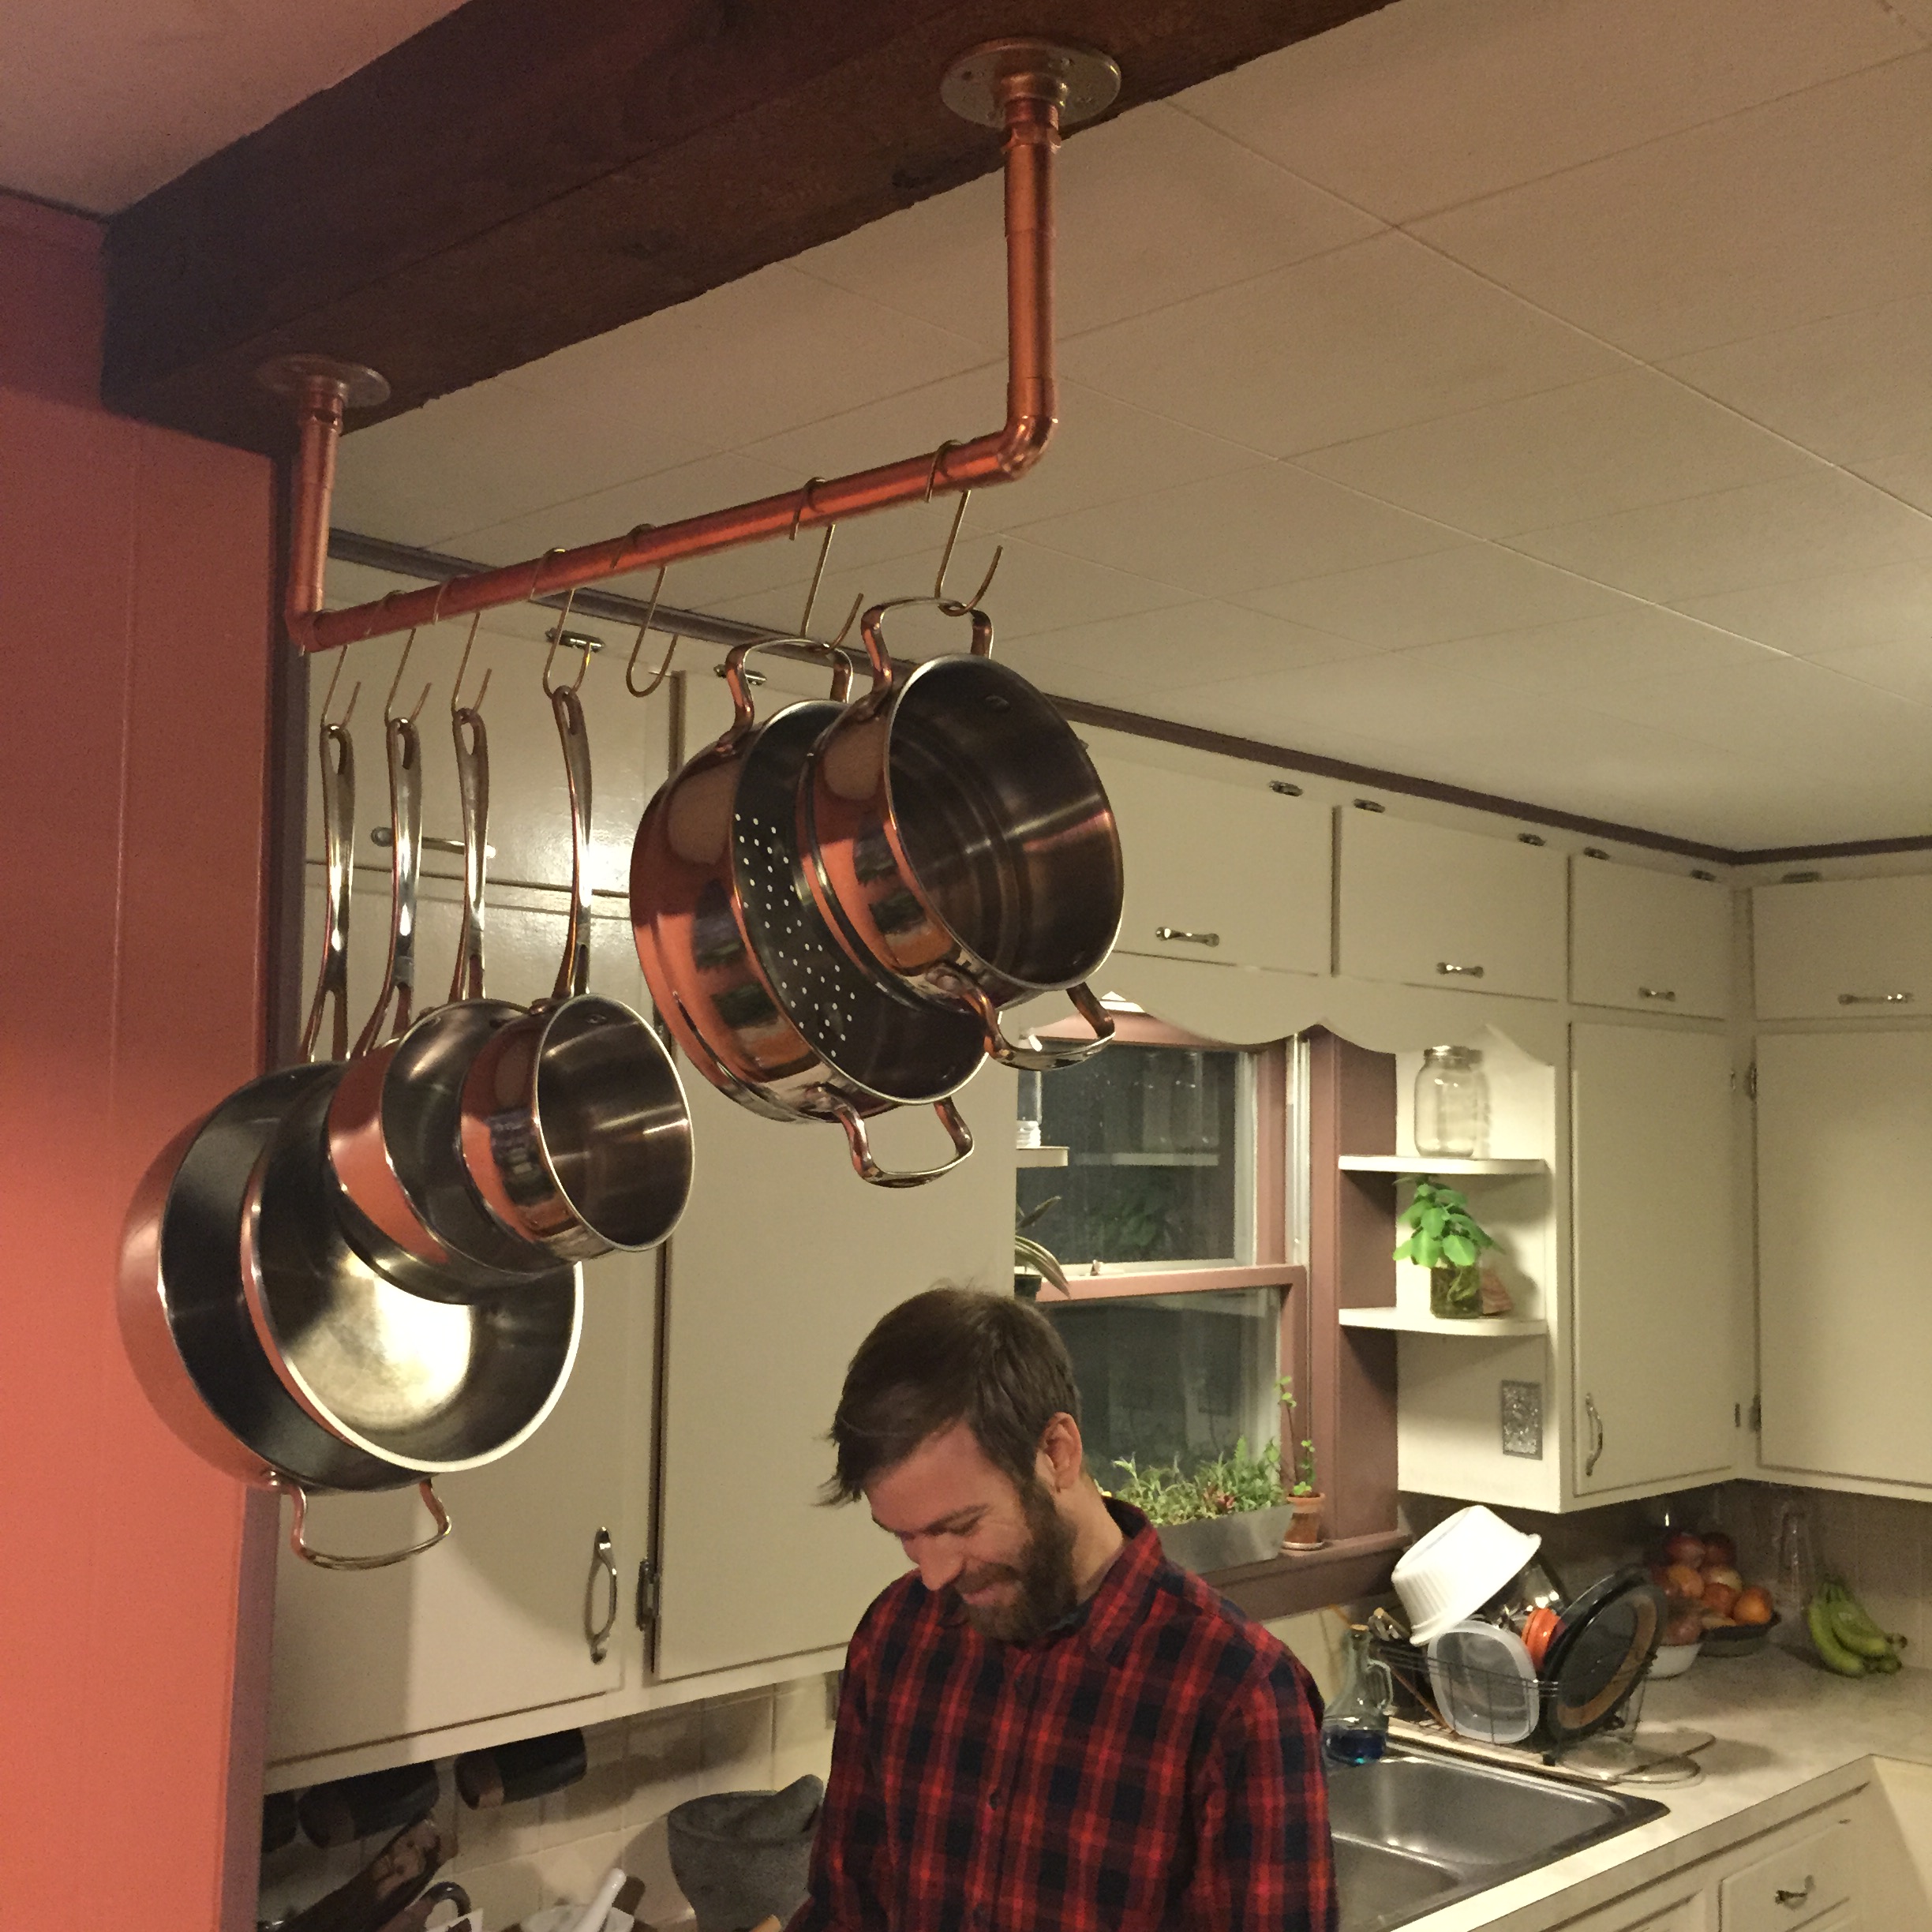
This whole project started with Spencer needing a pot rack for all his cookware because heaven knows, we have PLENTY of kitchen space, but he wanted to store a great many other instruments for his cooking escapades in all the cabinets. And I will say, a cute, simple hanging rack does cozy up a kitchen nicely.
After many minutes of casual debate at Lowes, this is what we came home with:
2 3/4 inch galvanized floor flanges
2 3/4 inch x 2 foot copper pipe
2 3/4 inch copper elbows
2 3/4 inch male adapters
2 3/4 inch couplers
1 hammered copper spray paint can (we used the Rustoleum brand)
2 1/8 inch x 2 foot brass dowels
1 bottle of two stage epoxy suitable of metals
1 small hacksaw
We began by deciding how long we needed the sides of the rack to be. This will be dependent on your ceiling height, how far you’re willing to reach for your items, and the length of the items you will be hanging. We chose 4 inches. We marked each end of one pipe and cut the pipe on either side of the manufactured ends using the hacksaw. We decided on cutting from the manufactured ends in order to keep the pipe as true as possible and avoid slanted cuts. Using the hacksaw wasn’t difficult. We began by making a slow, fluid groove and began sawing faster once the blade had penetrated the surface in which to guide the cut through.

Cutting the pipe into equal pieces.
Once we were done cutting we did a dry fit of all the pieces.

Dry fitting the pieces.
We then took a little break and went to the garage to paint the galvanized metal floor flanges. We had done some quick research on copper flanges but they were too expensive and also not available at our hardware store, so we opted for a metallic spray paint. Spray painting something is pretty self-explanatory, but I will say, we did stuff paper towels into the threading so not to gum them up with paint.
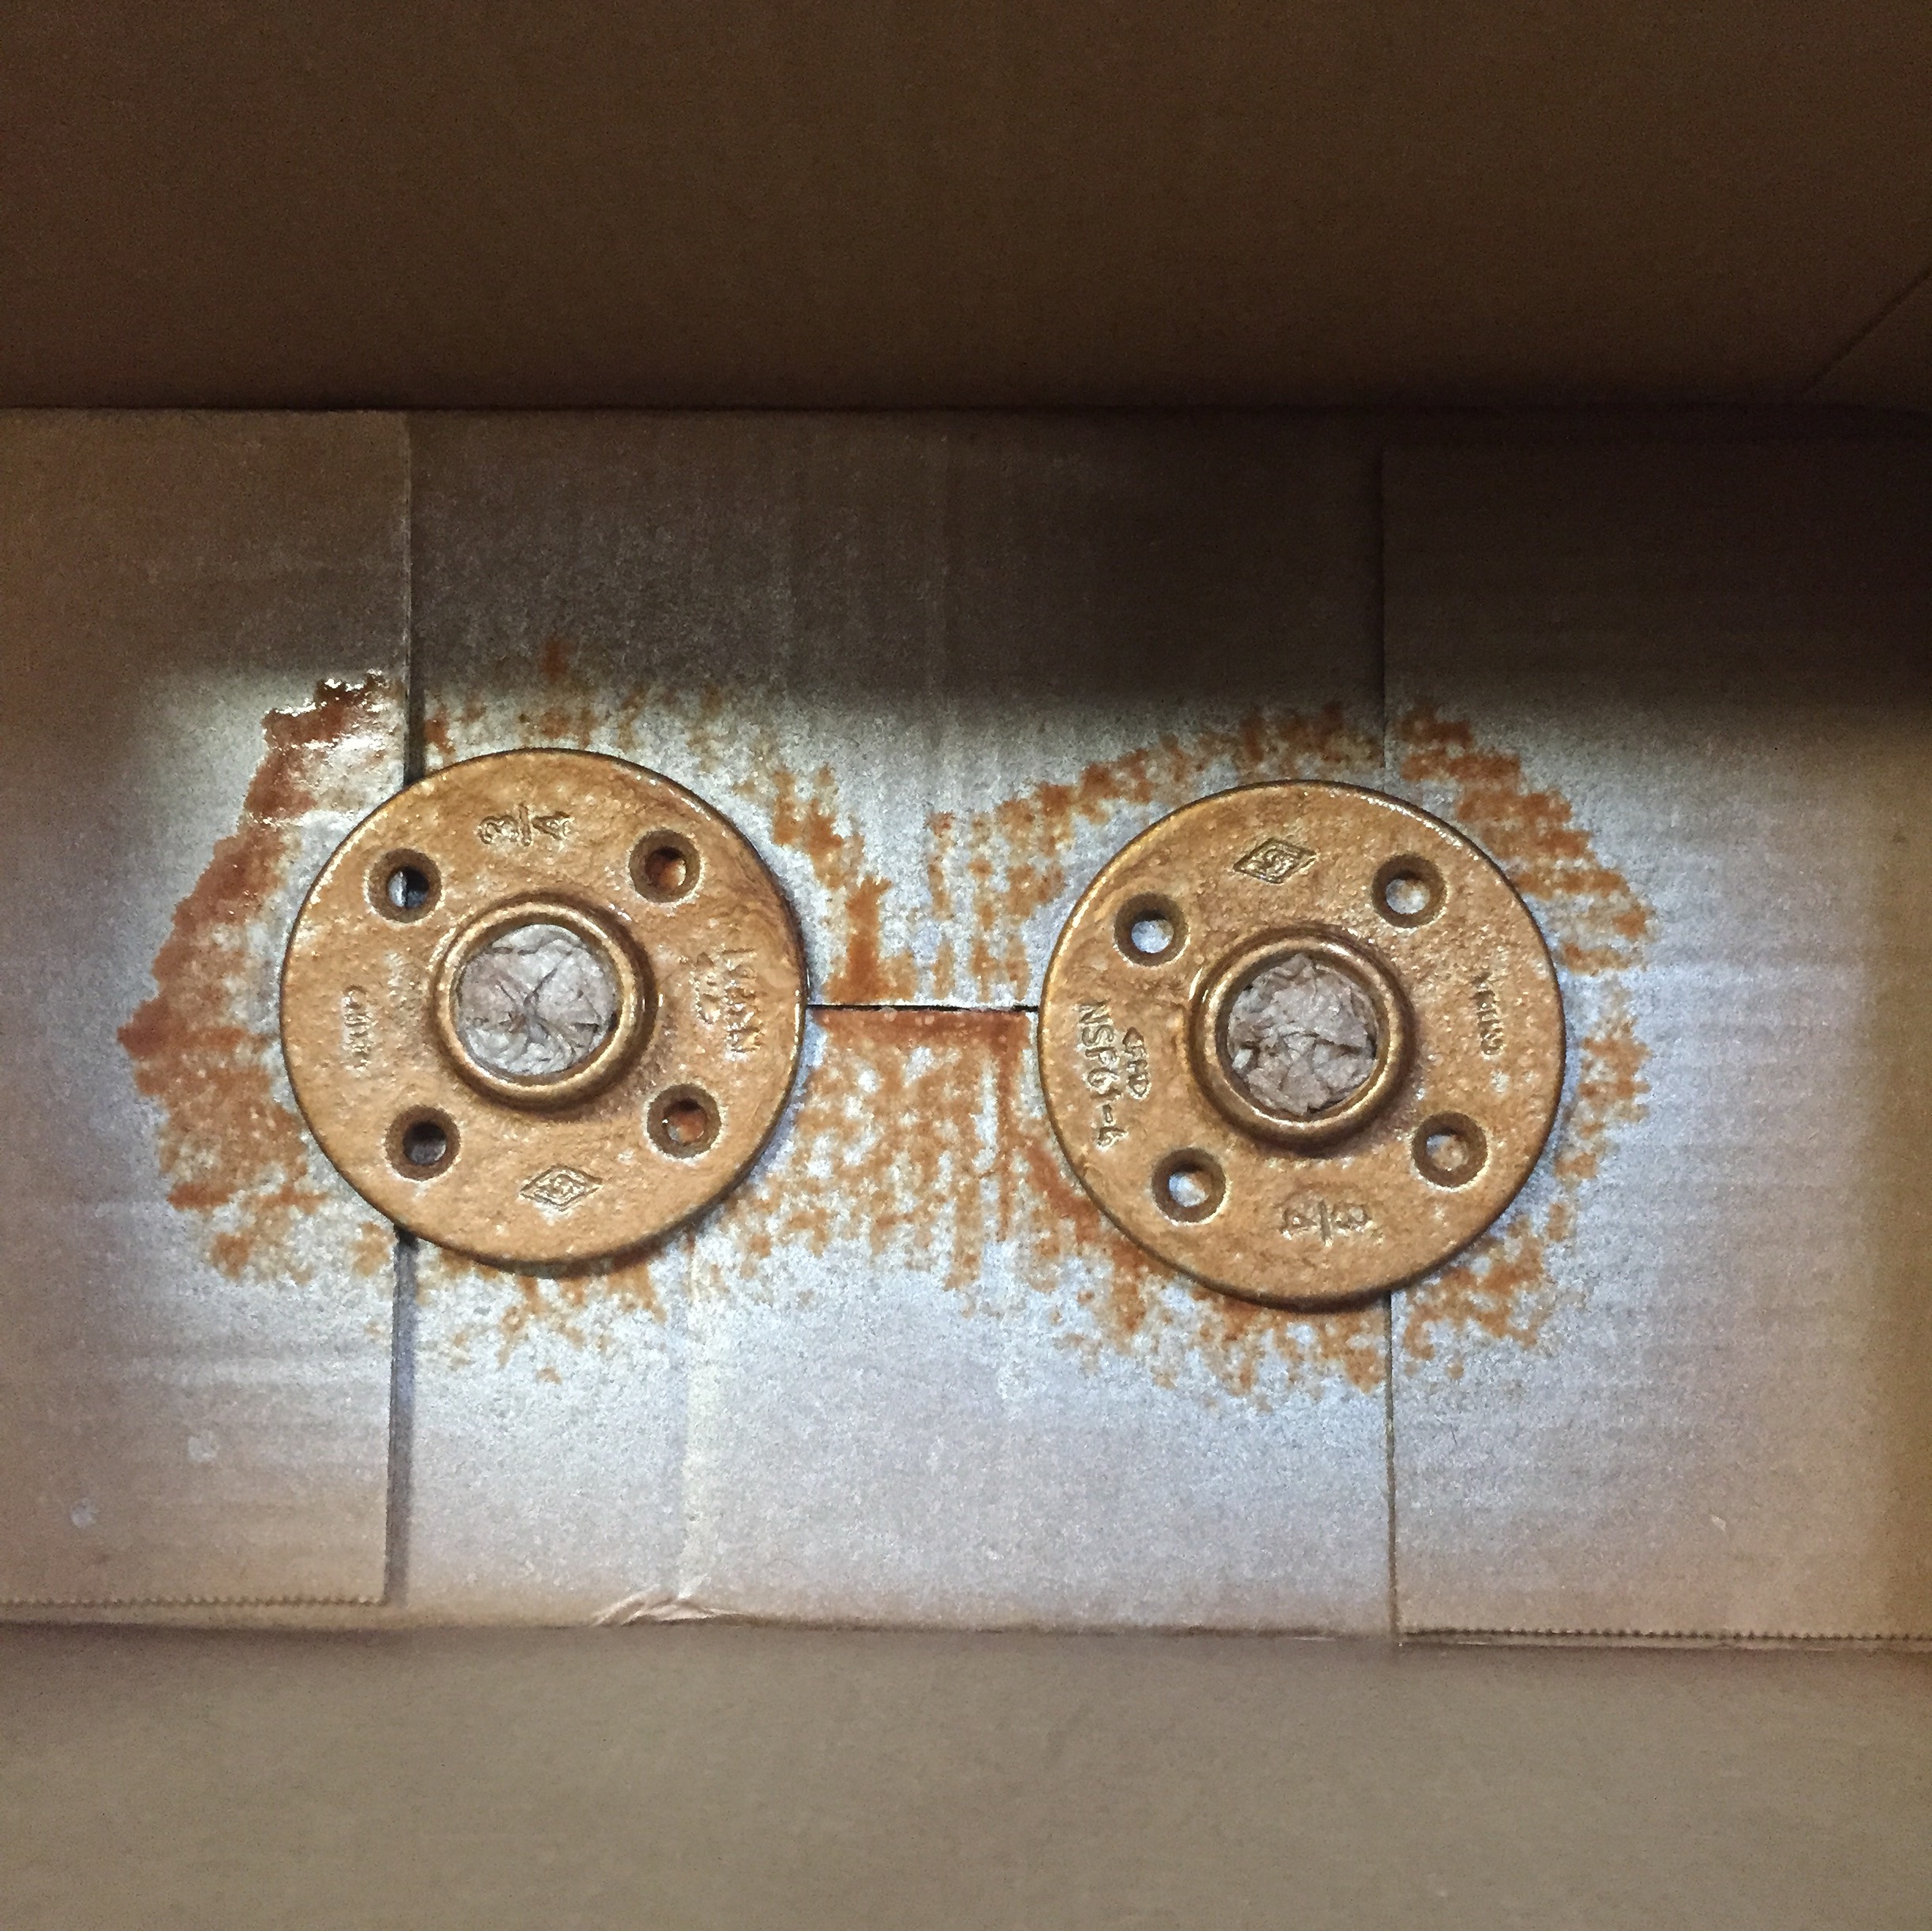
Spray painting the flanges “copper”.
Once that was finished we turned our attention to making hooks. This was the trickiest part of the whole project. We decided on making our own because we couldn’t find any S-hook that would fit over 3/4 inch pipe. We also wanted to stay with a simple, classier metal, to match our design. We began by cutting 7 inch lengths from your brass dowel rods with a wire cutter. Using the 3/4 inch copper pipe as a guide, bend the dowel over the pipe to create a curved shape. We found this easiest to do with a pair of pliers.

Our curved brass hooks.
We wanted each of our hooks to face the same direction while holding our pots so we then turned the hook 90 degrees and bent it again over the pipe to create a sort of torque “C” shaped hook.

Shaping the brass hooks.
We experimented with different lengths of hooks, and you should too. Smaller hooks can be used for utensils or other items. I personally cant wait to dry some herbs on my pot rack :)
After shaping the hooks all that was left was assembling the pot rack. We used a clear, two-stage epoxy, the kind that comes in a syringe that is mixed together when ready to use. Q-tips came in handy here. We lightly coated each piece in epoxy and fit it, making sure to keep all of the hardware stable on a flat surface. It dried very quickly and the epoxy doesn’t show at all, even if you tend to be as messy and accident prone as we are.

Gluing

Almost finished!
The final step is screwing in the painted flanges and hanging. I can say, I am quite pleased with the result! Also, this same method can be used for any sort of metal pipe. Copper piping can be a bit expensive, which is why this cost us $60. A simple galvanized steel or other metal piping would give the same aesthetic for less.
I hope you’ve enjoyed this little project tutorial. If you have any feedback please let me know in the comments.
For now though, I’ll leave you with some of some things that are making me happy right now.

I love the packaging on this brie. it seems very “Old World” to me. Also, have you had brie??! I swear it is the butter of the cheese world. I am absolutely in love.

This may seem weird but activated charcoal is absolutely amazing! I have been using it as a mild face scrub and for a teeth brightener. And as a rock lover, I am completely spellbound by its smooth, saturated nature.

This abalone shell has my heart wanting to be near the ocean this cold winter. Beach vacation, anyone?